57 cents and a Whole Lot of Fun
There are a lot of big, somewhat expensive things I dream about for our house. And then there are the little things. The things that I walk by every day and think to myself, "This could be better," even if no one else ever notices them. I guess that's the down side to being home all day... A few weeks ago I decided enough was enough. I was going to take things into my own hands and spend some big-time money: 57 cents on a bottle of black acrylic paint. And, oh, the fun I've had with that little splurge...
First, let me give you some "befores." Everyone likes a good transformation, right? You've seen the dining room transformation, and I absolutely LOVE how it turned out! But those lights... They'd been painted a bronzey-gold, and it was peeling and half-painted over (surprisingly, not by me this time!). The shades were an ancient plastic material and the sparkly trim on them was peeling off. It was time. Here are the wall sconces before:

And here they are after. I painted the metal portion, cut off the plastic shades, and wrapped the wire frames in 1" white cotton bias tape.


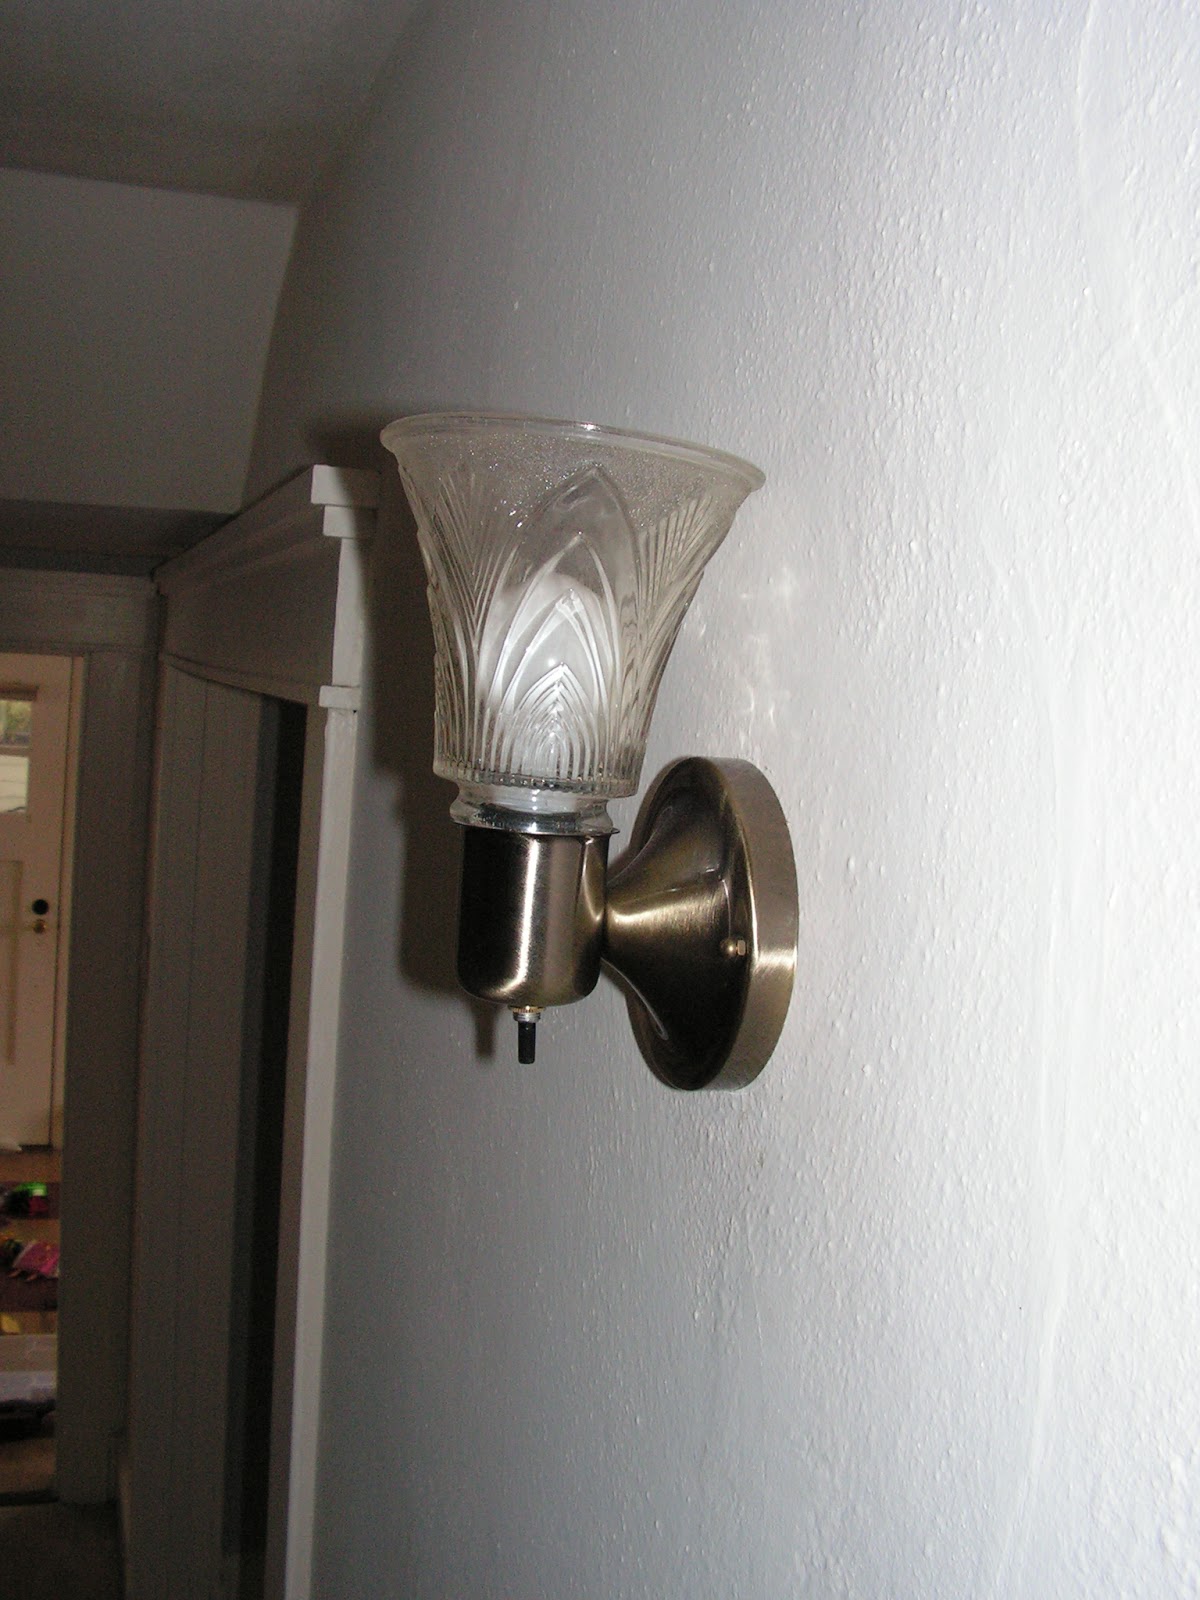
As is usually the case, as I waited for the coats of paint to dry, I glanced around looking for other victims. Just outside the shot above is a wall lamp. I should have gotten a picture of it when we moved in, because it had a really awful, dated globe on it. I had some spare globes from an old fan, so I replaced it the weekend we moved in. But that burnished metal...

A coat or two of paint later, and...

At least it matches the rest of the finishes on this floor (and don't worry, that wall won't be white for long...).
Next we tackled lighting in the living room. There are almost no overhead lights in the house, and we have almost no lamps. So some time ago we went in search of a solution. We found these wall sconces, but they needed to be hard-wired to the wall. I have no interest in hiring an electrician (or messing around with patching plaster), so we re-wired them to plug into outlets. They worked great, but we had dangling cords to deal with:

Never fear! There was a plan all along. The only thing holding me back was the need for supplies and some good old fashioned black paint. Here are the new living room lights:


In hindsight, I do wish I'd spread the brackets out just a little more, but overall I love them! As the paint was drying on them, I glanced around the room and found these:


I don't know how clearly they show up in the pictures. I have nothing against copper (and have even been entertaining thoughts of copper finishes for our downstairs bathroom), but this is leopard print copper! The texture, the color, the animal print... Now, let me first say that I'd never thought to tackle them because I actually have different long-term plans for these cabinets. Plans involving some trim work and new latches and hinges. But in the intervening years, why not at least disguise that leopard print...?


So much better! Usually I run my impulsive thoughts by Micah (someone has to keep me grounded...), but in the heat of the moment and the inspiration, I set out on this venture on my own. Thankfully he loved it and agreed that it beat the leopard print by a long shot. And, yes, I know that's black paint on the white door. I painted the entire set of hinges and handles in about 10 minutes while the kids played around my feet. When inspiration beckons, there's no waiting around for a kid-free time...
I leave you with those little projects for now. Amazingly, my 57 cent bottle of paint still has more to offer! I have some projects scoped out, so stay tuned... Who knew it'd be so much fun to own a house again?!
*** UPDATE: For those of you who cringed reading about how I was painting all of these metal surfaces in a flat acrylic paint, let me offer you some peace of mind. The plan was never to leave them flat. What I forgot to mention in my post is that my search for a non-spray clear sealant has been ongoing. After some research and shopping, I've actually found a great gloss enamel that I've sealed all of these things with. More pics (and projects) to come...
First, let me give you some "befores." Everyone likes a good transformation, right? You've seen the dining room transformation, and I absolutely LOVE how it turned out! But those lights... They'd been painted a bronzey-gold, and it was peeling and half-painted over (surprisingly, not by me this time!). The shades were an ancient plastic material and the sparkly trim on them was peeling off. It was time. Here are the wall sconces before:

And here they are after. I painted the metal portion, cut off the plastic shades, and wrapped the wire frames in 1" white cotton bias tape.


As is usually the case, as I waited for the coats of paint to dry, I glanced around looking for other victims. Just outside the shot above is a wall lamp. I should have gotten a picture of it when we moved in, because it had a really awful, dated globe on it. I had some spare globes from an old fan, so I replaced it the weekend we moved in. But that burnished metal...
A coat or two of paint later, and...

At least it matches the rest of the finishes on this floor (and don't worry, that wall won't be white for long...).
Next we tackled lighting in the living room. There are almost no overhead lights in the house, and we have almost no lamps. So some time ago we went in search of a solution. We found these wall sconces, but they needed to be hard-wired to the wall. I have no interest in hiring an electrician (or messing around with patching plaster), so we re-wired them to plug into outlets. They worked great, but we had dangling cords to deal with:

Never fear! There was a plan all along. The only thing holding me back was the need for supplies and some good old fashioned black paint. Here are the new living room lights:


In hindsight, I do wish I'd spread the brackets out just a little more, but overall I love them! As the paint was drying on them, I glanced around the room and found these:


I don't know how clearly they show up in the pictures. I have nothing against copper (and have even been entertaining thoughts of copper finishes for our downstairs bathroom), but this is leopard print copper! The texture, the color, the animal print... Now, let me first say that I'd never thought to tackle them because I actually have different long-term plans for these cabinets. Plans involving some trim work and new latches and hinges. But in the intervening years, why not at least disguise that leopard print...?


So much better! Usually I run my impulsive thoughts by Micah (someone has to keep me grounded...), but in the heat of the moment and the inspiration, I set out on this venture on my own. Thankfully he loved it and agreed that it beat the leopard print by a long shot. And, yes, I know that's black paint on the white door. I painted the entire set of hinges and handles in about 10 minutes while the kids played around my feet. When inspiration beckons, there's no waiting around for a kid-free time...
I leave you with those little projects for now. Amazingly, my 57 cent bottle of paint still has more to offer! I have some projects scoped out, so stay tuned... Who knew it'd be so much fun to own a house again?!
*** UPDATE: For those of you who cringed reading about how I was painting all of these metal surfaces in a flat acrylic paint, let me offer you some peace of mind. The plan was never to leave them flat. What I forgot to mention in my post is that my search for a non-spray clear sealant has been ongoing. After some research and shopping, I've actually found a great gloss enamel that I've sealed all of these things with. More pics (and projects) to come...